
Hello everyone! I have a new project here for you to try, or perhaps it will even inspire you to create a unique applique pattern of your own! I have always loved applique, but I just don’t find the time for it very often. Winter can be good for that; with long evenings indoors, there’s time for more crafty projects!
Recently, I was reading a little Pennsylvania history about quilting. It was first used for necessity and utility. In the times of the early frontier, thrifty settlers patched and re-patched their quilts again and again until they hardly held together, and then sometimes used the battered quilts between layers of a new quilt for extra thickness. When new cloth was cut, they saved every scrap no matter how small to use in something else. Applique was saved for ‘good' or ‘company' quilts, with the everyday quilts being less appealing, more practical. There wasn't much fuss about mixing old and new materials, because they simply used everything they had.
Times have really changed for most of us, and now there are entire stores specific to the quilting craft. Nowadays, new fabric is usually used when making a quilt. I try to incorporate the scraps I already have as often as I can, but I also enjoy buying new pieces for a special project here and there too! Sometimes you need just the right color or pattern, and quilting stores are a blessing!
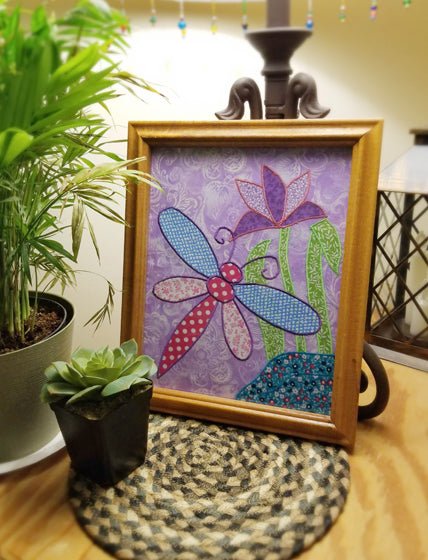
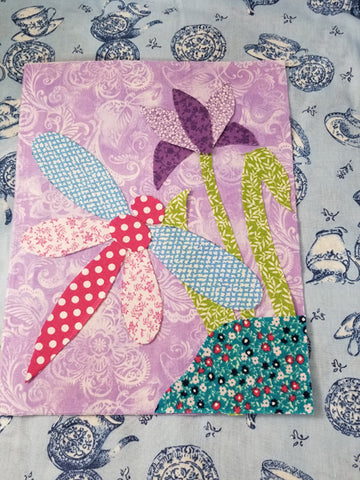
Dragonfly Applique Pattern
Materials Needed:
Embroidery Thread (I used some 40, some 60 weight)
Scraps on Hand
Picture Frame
Iron-On Fusible Heavyweight
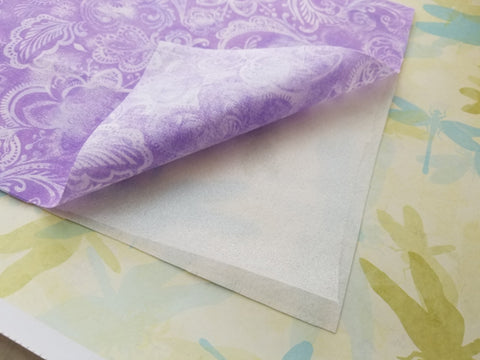
Sheer Two-Sided Fusible for Between Fabrics
Pressing Cloth (Optional)
Pattern: Download the PDF here.
lf you print it on a 8.5 x 11" paper, it will be the right size.
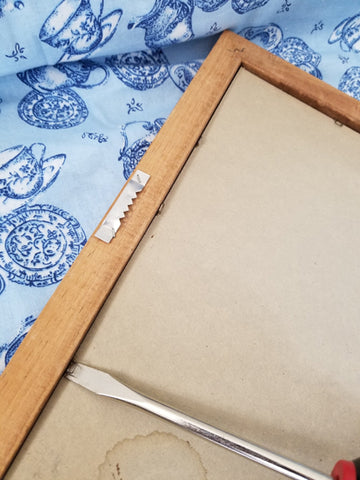
Step 1:
Carefully remove the backing from your picture frame. Most picture frames have nails or staples that bend up easily using a flathead screw driver. I found this frame at a local thrift store for less than $1. It doesn't matter what size or shape you find, you can adjust this pattern to fit it as long as the height is at least 10 inches. The one I used is 8”×10”.
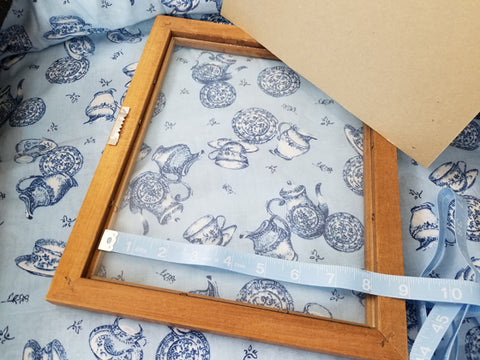
Step 2:
Measure inside your frame, the size of the glass. This is your background size.
Step 3:
Cut out the background piece. Iron the heavy weight fusible onto the back of it. This will make it much easier to satin stitch on top without it wrinkling up.
Step 4:
Cut out all the needed pieces and lay them out so you can see how the picture will look. You will be taking them off again, but I find it helps to keep my sewing in line if I see the whole picture first. Otherwise, shapes can end up where I thought they should be, but aren't where they need to be!
Step 5:
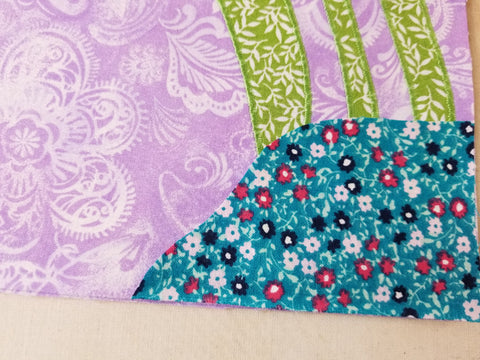
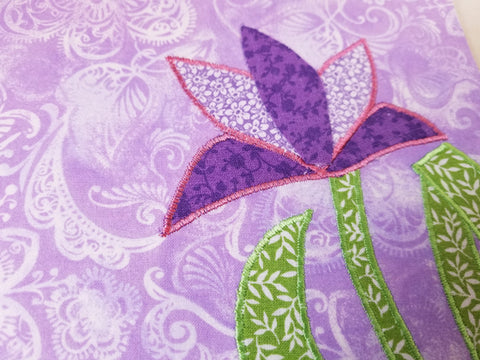
Remove all the pieces except the leaves and flower stem. Carefully place the sheer fusible underneath and iron, careful not to let the iron touch the fusible. It’s good to use a pressing cloth wherever you can if you don’t feel comfortable with the fusible. If this fusible gets on the iron, it’s not a big deal; wipe it off with some iron cleaner.
Step 6:
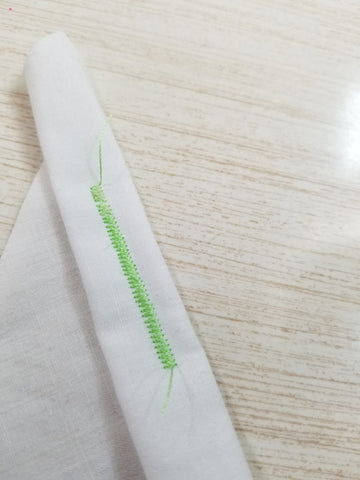
I changed the settings on my machine for this project. For the satin stitch (zig zag setting) to go smoothly, you want to have very loose top tension. (I have mine set at 1, which is the second to lowest for this machine.) I have the stitch length set to between the 0 and 1, because you want the stitches close, but not too close that they pile up and get jammed. The width is set at about 1/8”.
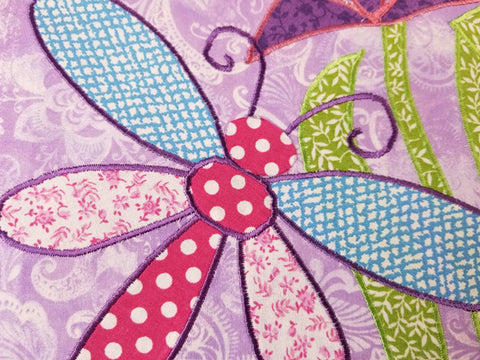
Use a piece of scrap cotton about 3 layers thick to test your stitch before using it on the project. I used a different color thread than the fabric in some places; the contrast gives it an extra dimension.
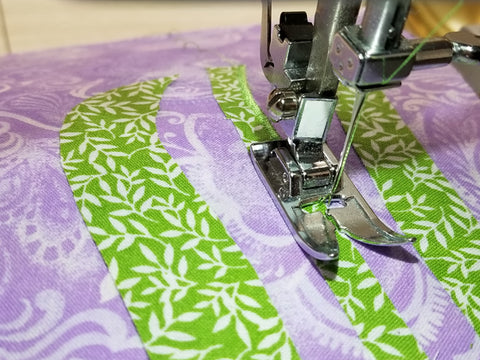
Step 7:
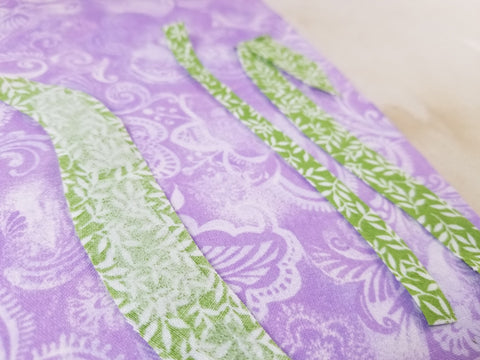
Satin stitch along the sides of each piece. Iron sheer fusible under each applique piece just before sewing to keep it from sliding around while trying to sew it. Stitch each layer of pieces on as follows:
#1 Leaves and stems, #2 Pond, #3 Petal 1 and 5, #4 Petal 2 and 4, #5 Petal 3, #6 Tail and Wings, #7 Body, #8 Antennae, #9 Head
Step 8:
After all the pieces are sewn in place, press out the whole piece with your iron and set it back into the frame. You did it!
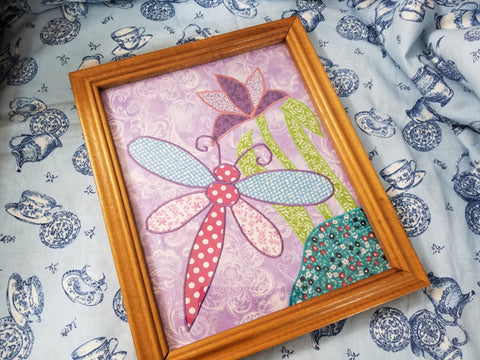
This would make great homemade décor for a child's room that you can customize to your unique color theme. There are endless ideas and options for applique! Imagine the seasons, occasions, flowers, and colors you could use!
Click here to read more about Good's Store serving as a fabric store in Lancaster, PA.
Comments (0)
There are no comments for this article. Be the first one to leave a message!