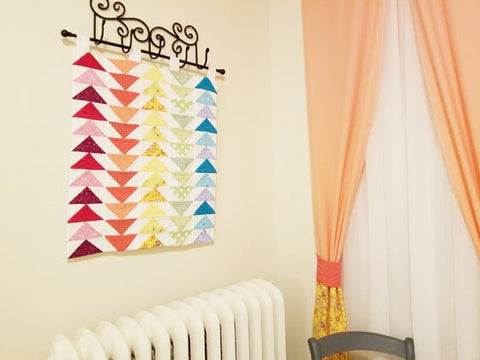
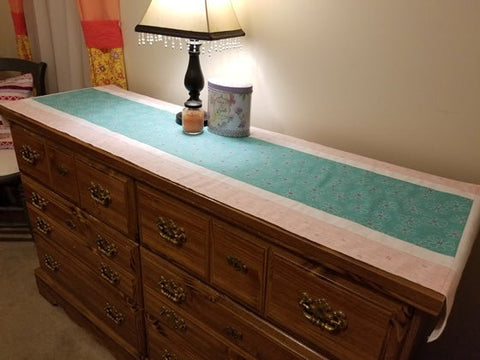
The other morning I stepped onto the porch and heard a beautiful sound – lots of birds chirping! Spring has returned to Lancaster County, and with it the birds! Here is a quilt pattern called Flying Geese.
This project is a great way to use up some of your odds and ends scraps! Simple quilting project with step-by-step instructions.
Materials needed:
4 blocks, each 4”×5”
15 blocks, each 6 ¼" square (in different colors, for the ‘geese')
60 blocks, each 3 3/8” square for the ‘sky' (I used white)
1 piece 24”×28” of lightweight fusible interfacing
1 piece 24”×28” of material for the backing
I used ¼” seam allowance for everything
Take the 6 ¼” blocks and mark an X over them, from corners to corners. This makes 4 triangles per block.
Take the 3 3/8” blocks and mark a / over them, from one corner to one corner. This makes 2 triangles per block.

Step 1
Sew the long side of the small triangle onto the left short side of the big triangle. Iron the allowance ‘down' toward the big triangle.


Step 2
Follow step 1 for the right side of the same big triangle.
Repeat steps 1 and 2 for all the triangles, until you should have 60 rectangles. For a neater finish, you can trim off the allowance that sticks out the bottom of the rectangle.

Step 3
Layout your blocks 5 × 12. Starting at the top left corner, sew the first two up and down blocks together. For this step, iron the allowance behind the base of the big triangle. Follow this step for all the blocks in each column, until you should have 5 columns.

Step 4
Sew the columns together, being careful to match up corners. Iron these seams open, like a ‘butterfly'. Now the front is complete.

Step 5
Iron the lightweight fusible onto the back. This will give it stability and keep all the seams laying nicely.

Step 6
Take a 4" × 5” block and sew the long sides together. Turn right side out and iron flat, with the seam in the center of the back. Fold them in half, seams inward and position them at the top of the quilted side, spaced evenly. Pin in place.

Step 7
Place the quilted side face down on the backing, pin to keep in place. Leave a small opening in the bottom side, and sew around the edges. After sewing, trim the corners so it lays nicely. Turn right side out and iron flat.

Step 8
Top stitch very close to the edge to sew up the opening left in the bottom. You can ‘quilt' the wall hanging if you'd like, I simply sewed on top of the up and down seams.
Now it’s finished! You could also use this without the tabs to throw over the back of an old couch or chair to give it more color!
Click here to read more about Good's Store serving as a fabric store in Lancaster, PA.


Comments (0)
There are no comments for this article. Be the first one to leave a message!