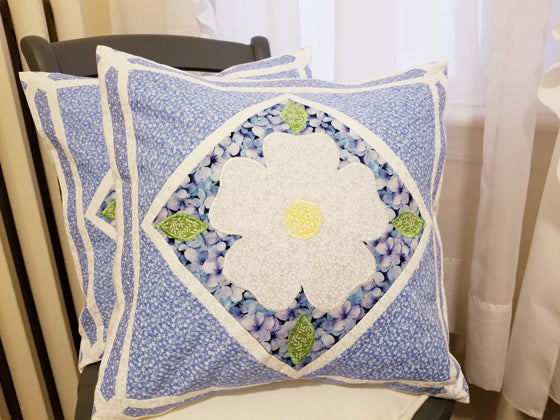
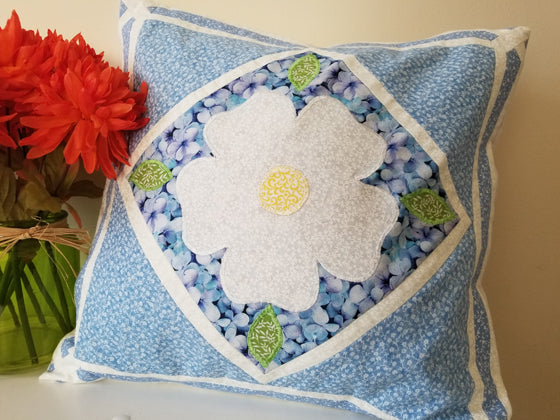
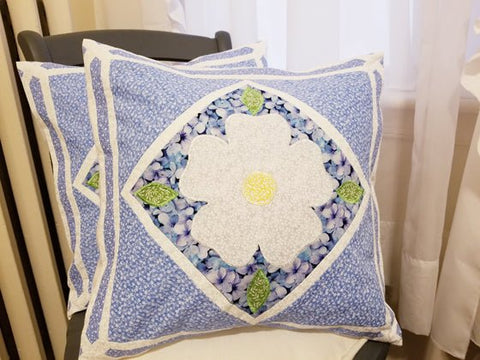
Brighten your sofa or favorite chair with this Flower Applique Pillow! Use some fabric from your stash, or find some new cotton prints here.
Materials Needed:
¼ yard or scraps of 3 assorted prints, can be any color
½ yard White on White Print for backing, flower, and lattice
Double-sided iron-on fusible for applique
Pillow form or old pillow
PDF pattern: Click here for pattern to print
Seam allowance: ¼”
Finished size: 15” square
Step 1
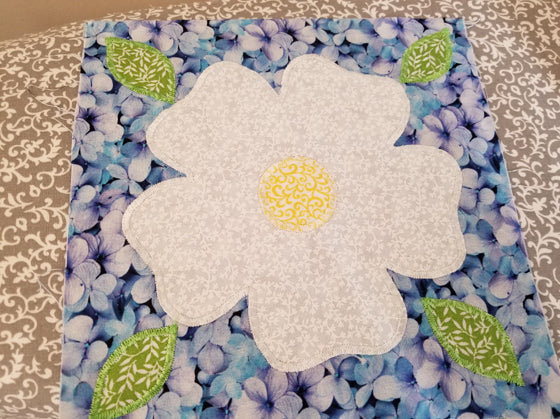
Cut fusible to shape of each applique. Center flower on 8 ½” square, and iron the flower to the square. It’s a good idea to use a pressing cloth to keep your iron clean from the residue of the fusible that may show around the edge of the flower.
For the stitching around the edges of the applique, I adjusted the settings on my sewing machine for the width of the zig-zag to medium, and the length to very short stitches. This way, the stitches are close enough together to keep the edges from fraying. When starting and ending an applique, I sew and back-sew about 3-4 stitches to hold the zig-zag in. Sometimes, zig-zag can pull out because it isn’t secured at the start or end point. After sewing each of the applique, press it out nicely with the iron so it lays flat.
After the flower, iron the circle in the center on the flower, stitch around edges and iron.
After the circle, iron a leaf in each corner, stitch around edges and iron.
Step 2
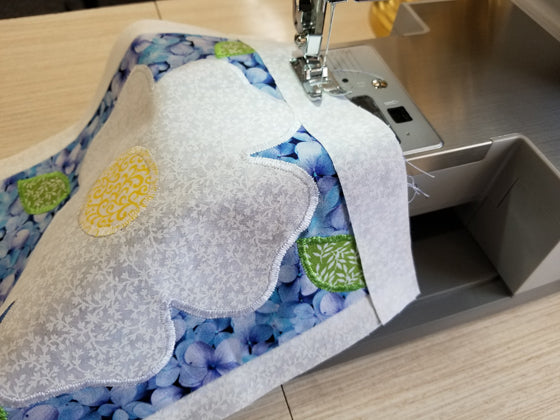
Sew 1” strips on either side of the center square. Iron out. Sew 1” strips on the two remaining sides. Iron out. Now there should be a white frame around the center.
Step 3
Sew two of the triangles on first, opposite sides. Iron, and then sew the other two.
Step 4
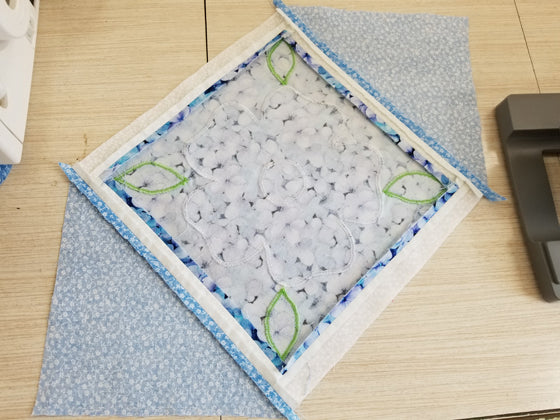
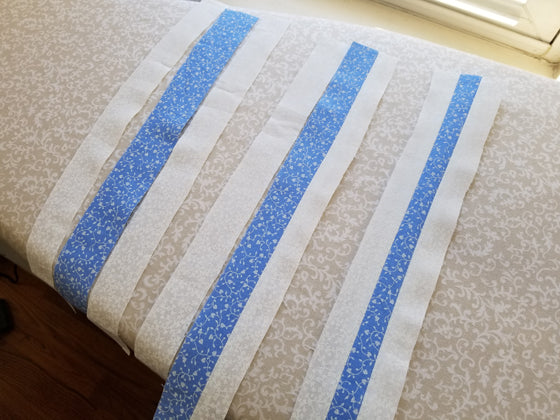
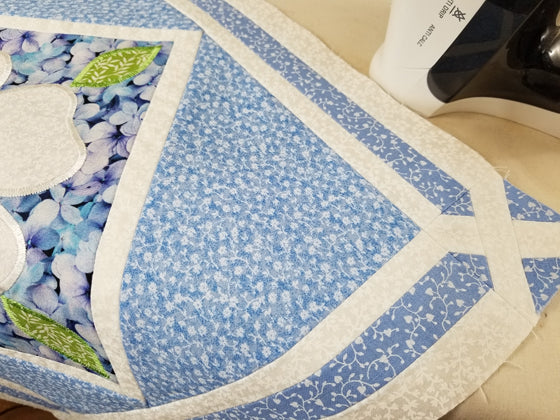
Prepare your lattice sides. Sew a 1” white strip on both sides of each 1 ¼” blue strip. Iron.
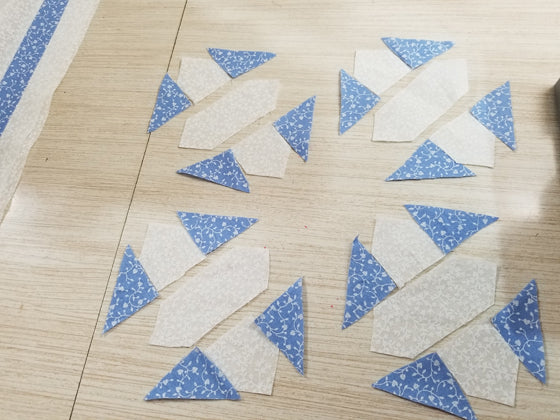
Layout the pieces for the corner blocks. Make an X with the longer white pieces, and the house shape white pieces. Fill in the center edges with the blue triangles.
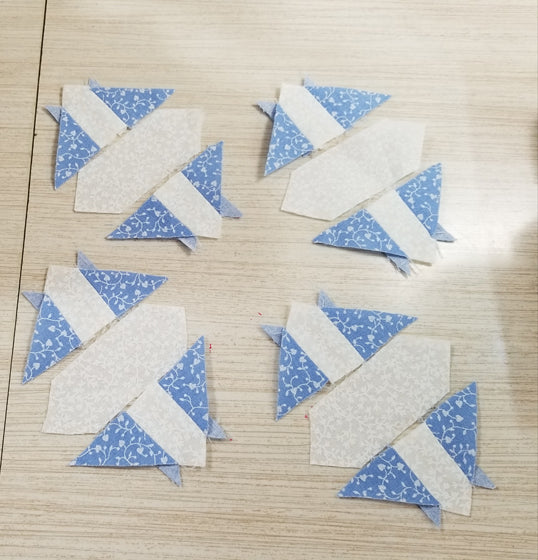
First sew blue triangles on both sides of the white house shapes, and iron. Some of these little pieces seem like they won't go together right but they do end up fitting right!
Next, sew those assembled parts onto the center pieces, and iron.
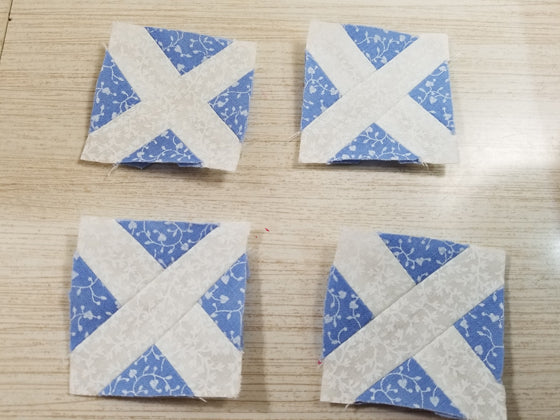
Step 5
Sew one of the lattice strips on each side, and iron. Sew a corner block onto each end of the remaining 2 strips, and iron. Finally, sew those 2 completed strips with corners onto the pillow, being careful to line up all seams as you sew over them. Pinning can help with keeping seams lined up!
Step 6
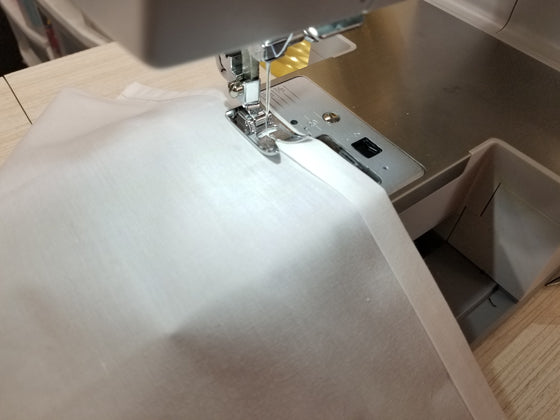
Iron down the long side of the backing center on both pieces. Fold under ¼”, and then 1/2". Top stitch and iron.
Step 7
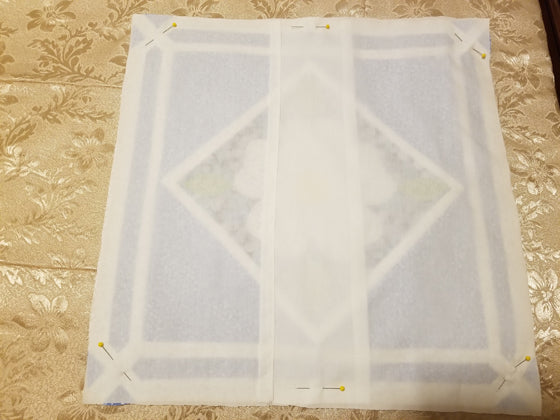
Set the pillow front face up and lay the backing on top face down. The back pieces will overlap, this will help hide the pillow form inside when finished. Sew completely around the edges. Snip off the corners, turn right side out and press out the edges.
Put in a pillow form or old pillow, and you're brightened up for spring!
Click here to read more about Good's Store serving as a fabric store in Lancaster, PA.

Comments (0)
There are no comments for this article. Be the first one to leave a message!